|
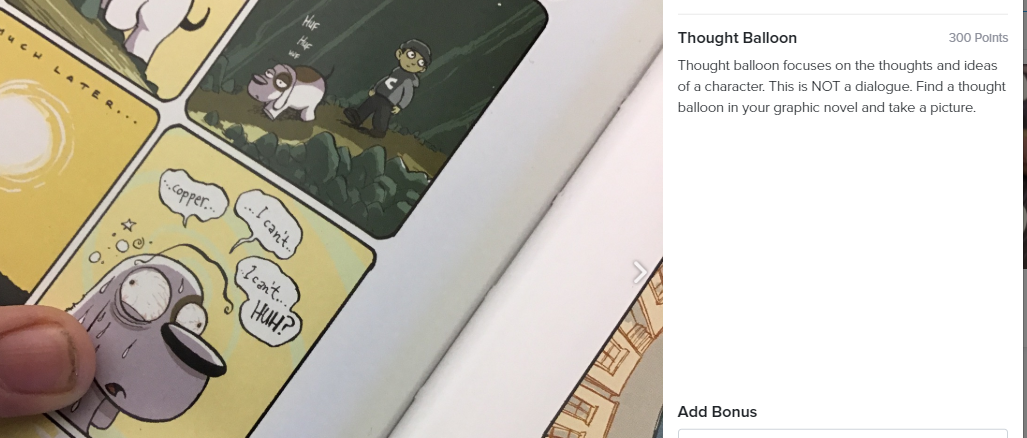
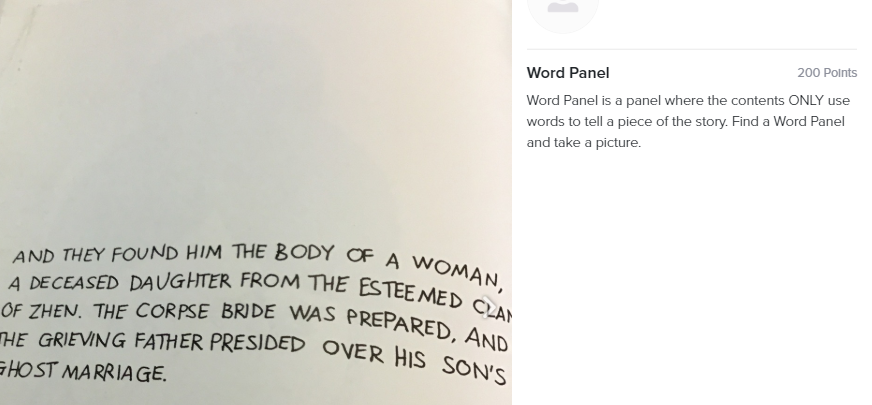
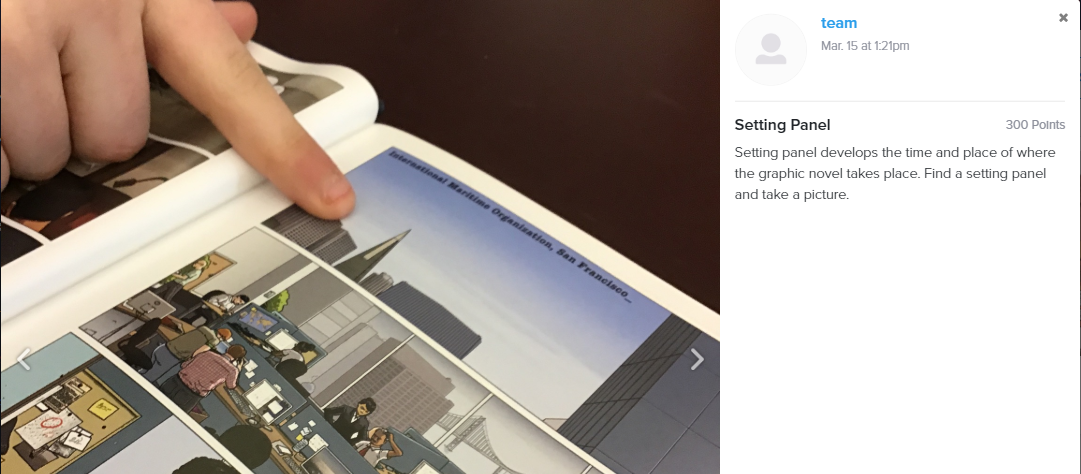
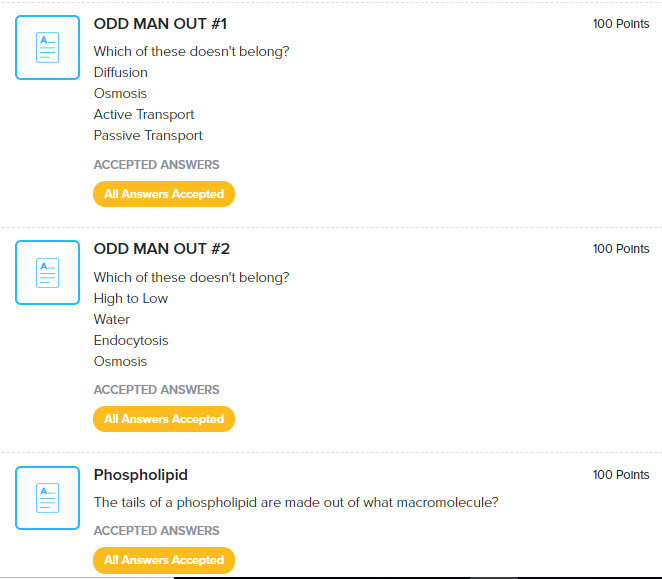
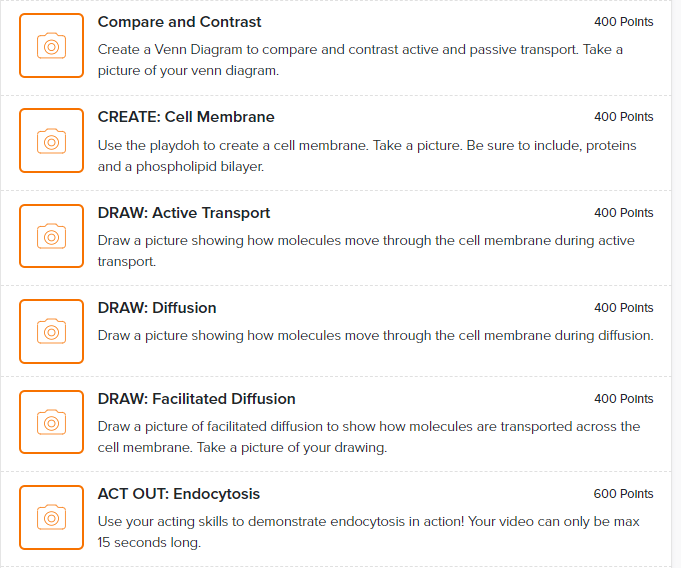
If you haven't tried out the app GooseChase, I highly recommend this free app. be sure to sign up for your educator account here, so you can play with up to 5 teams for free. While there are a few limitations, like number of teams and games that can be played at the same time, the limitations are few and the basics you would need for your classroom are easily met. We have now played a GooseChase with faculty, students in Biology, Chemistry, English, and math classes. Goosechase in EnglishOur most recent GooseChase has been with our freshmen English classes. Before they read, The Monkey King, they wanted to introduce the kids to different parts of a graphic novel. Typically this is done through a PowerPoint where they show examples of items like, thought balloons, speech bubbles, the gutter, setting panels, image panels, etc. So instead, we made each of those parts into a separate mission. The mission had the definition of what the kids needed to find, then the kids looked through an assortment of graphic novels to find what they were looking for. When they found it, they took a picture and uploaded it. The last few missions had the kids create their own versions of some of the items. Here is a link to the GooseChase if you would like to use it: https://gsch.se/game/81cbb7f17c314052b4e261a05bbeaea0/share/ Below are pictures of submissions and examples of the missions. Goosechase in scienceBeing the former biology teacher that I am, I tend to be the most creative in science classes. We have had 1 GooseChases in biology so far this year and 1 planned for STAAR Review. The first one was over Cell Transport. It had a mixture of easy to difficult missions. Here are some examples below. I love how GooseChase allows for different types of learning to occur...they can act out, draw, do puzzles, write, read, ex.
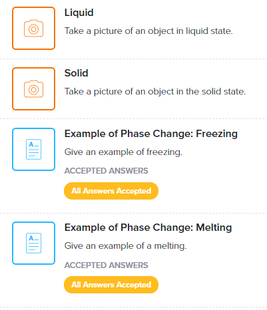
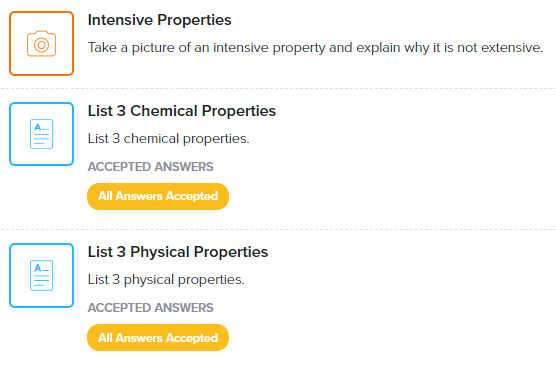
We also did one for our chemistry class when studying types of matter. Most of the students had a pretty good handle on types of matter already, so delivering content in this way made sense.
Staff DevelopmentOf course the students can't be the only ones that have fun! We used GooseChase with our faculty on our first day back this year. Here is the game if you would like it: https://gsch.se/game/5879a7290f17425aaa505118d22c5f59/share/ And of course a YouTube link with all the fun that we had!
0 Comments
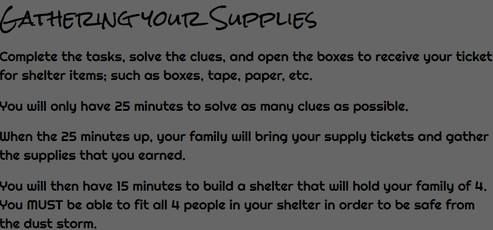
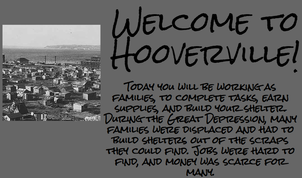
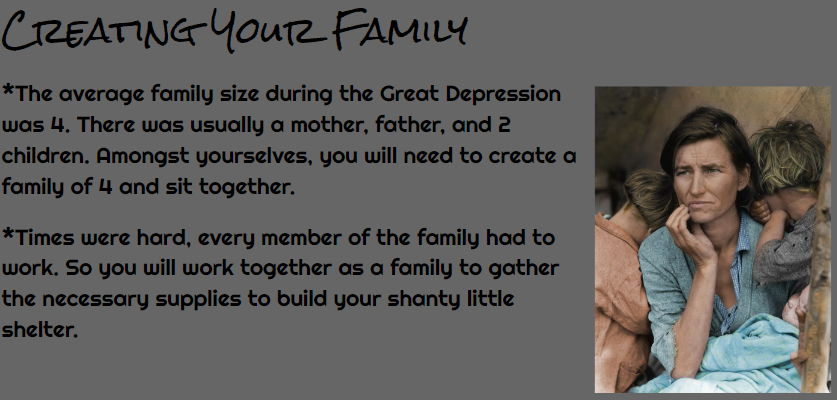
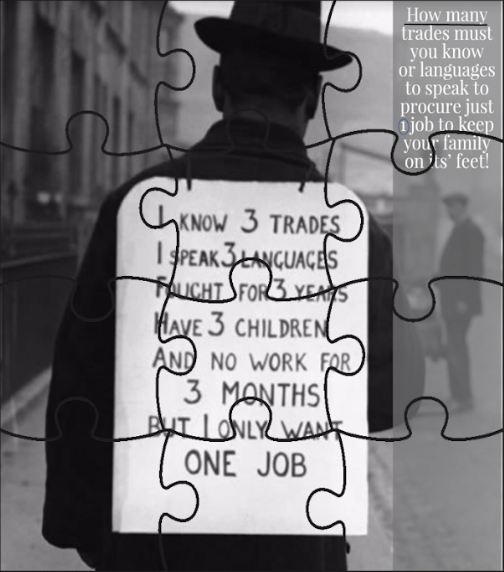
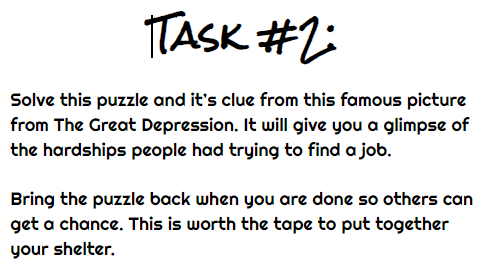
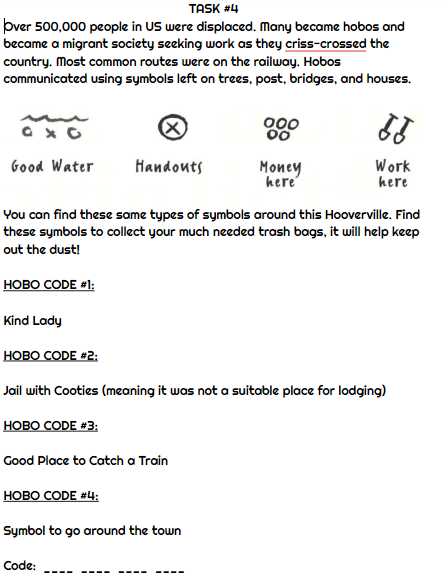
introducing of mice and menOur Junior English classes were getting ready to read Of Mice and Men. Before beginning this book they like to lead with some background information on The Great Depression. Many of the students have studied this topic in some way during their US History classes and have at least some basic background knowledge. Now we wanted to really immerse them more in the experience....and quite frankly, it is 2 days before spring break and sometimes you need to change it up! Here is what we did. The BreakoutWhat got me started was I really wanted the kids to have some culminating challenge at the end of the breakout. I wanted each task to give the students a piece to the end product. I thought it would be really fun to have the kids get in groups of 4 (a family) and complete tasks that would eventually give them supplies to build their own shelter. These shelters would collectively make a Hooverville. The supplies were limited and they had to be able to fit their whole family inside. We had 4 lock boxes. Each box, when opened, gave the group a coupon for one of the following: 2 pieces of tape, a box, 2 pieces of butcher paper, and a trash bag. These were all the supplies that they would have to build their shelter. IntroductionI showed a VERY SHORT powerpoint at the beginning to introduce the idea to the students. Here are the slides that were used.
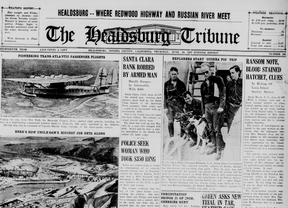
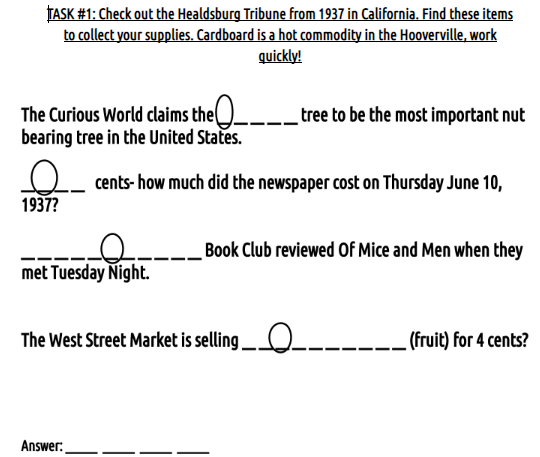
 The TasksAll of the tasks were related to The Great Depression, after all this is what we were introducing.
The finaleOnce the kids accomplished the tasks, then they went to the "General Store" to get their supplies. They took their supplies to an empty spot in the library to start building. To get credit, they had to let their teacher know when they were able to successfully fit all members of their family in the structure. Lots of laughs were shared during this part! See some pics below of the fun! 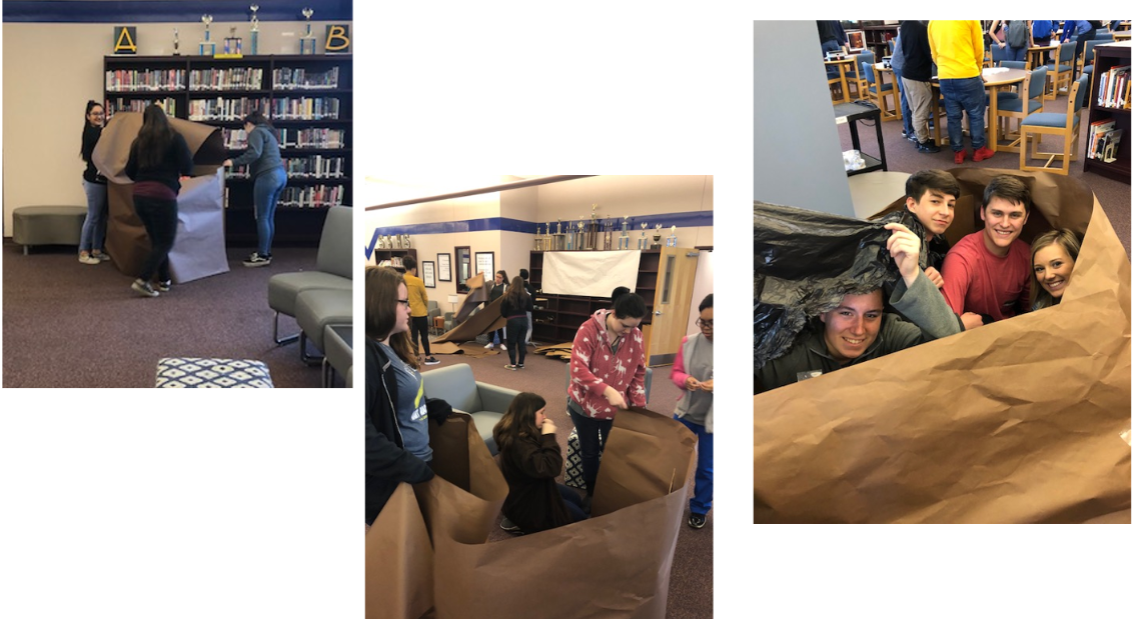
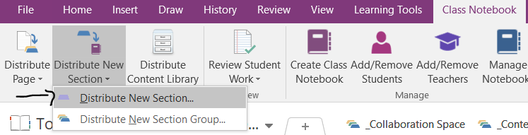
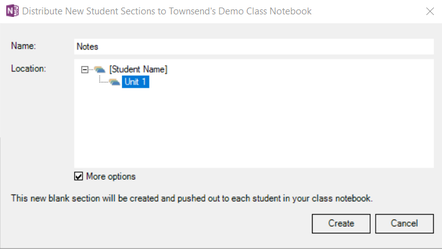
Here's the deal, using tabs to organize student OneNote notebooks is just NOT enough! Until OneNote catches on and starts letting you create section groups during the first steps of your notebook creation, an alternate route will have to be taken! CURRENT CLASS NOTEBOOK SET-UPCurrently, each student notebook can be set up with a set of TABS. Some label these tabs according to type of page. For example; HANDOUTS, NOTES, ASSIGNMENTS, and QUIZZES. I have seen teachers also label these tabs using Unit numbers; Unit 1, Unit 2, etc. Either one you pick, you could end up with large amounts of pages only organized by time-frame. See below. 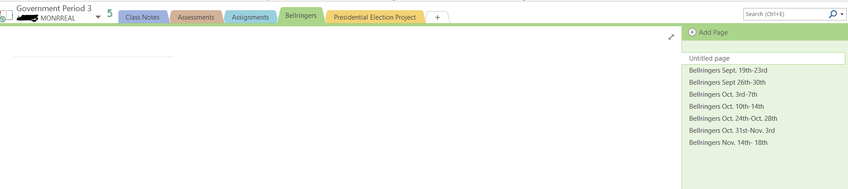 Above: Tabs are labeled by type of assignment Below: Tabs are labeled by Unit 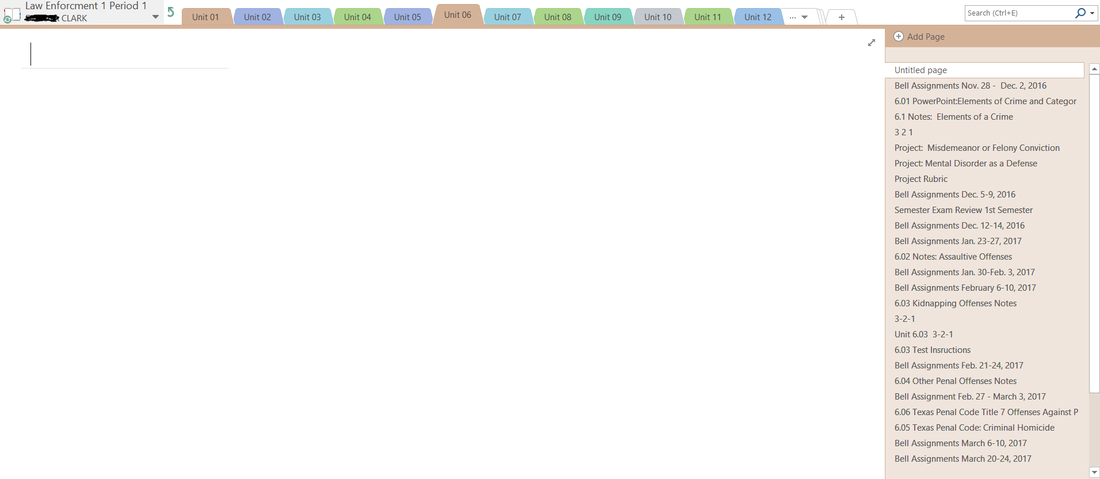 A BETTER WAY OF ORGANIZING A better way of organizing student notebooks is with section groups. Each section group represents a unit of study and then inside the section groups are tabs for items like: NOTES, HANDOUTS, ASSESSMENTS, etc. See below. 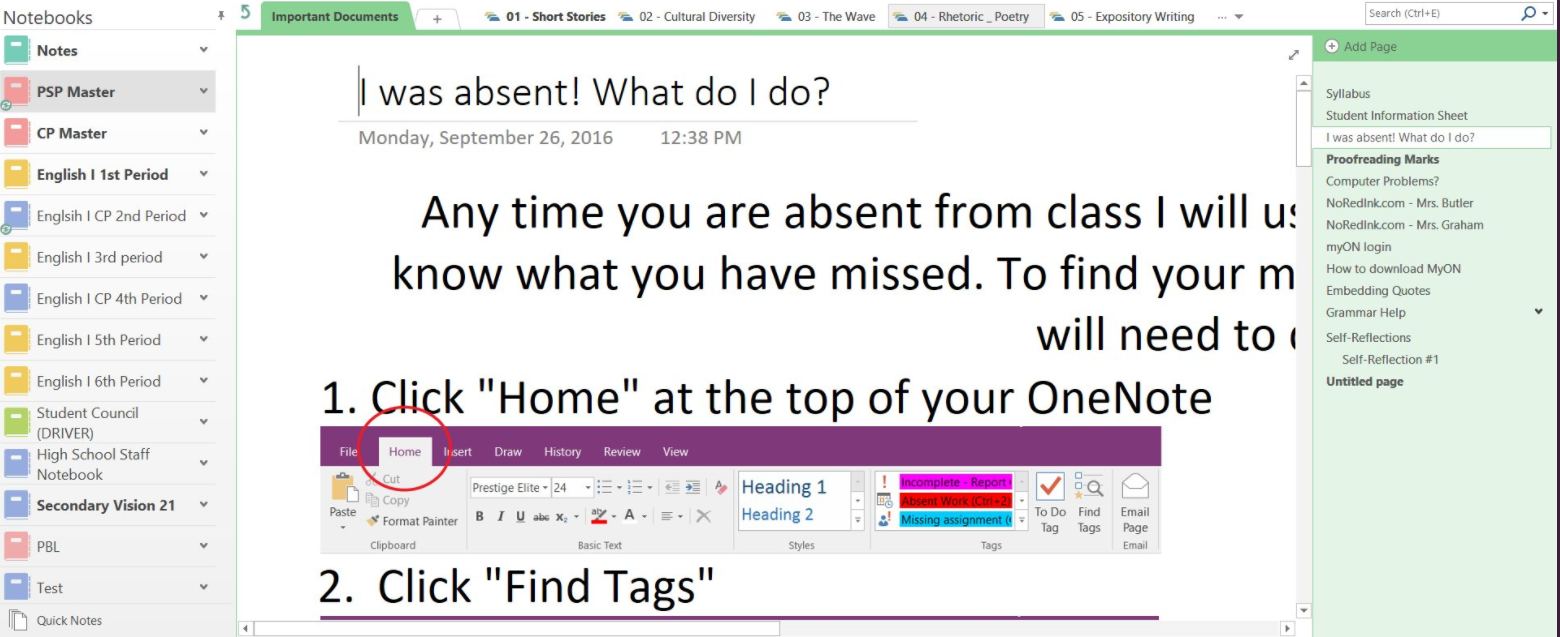 Above: The picture above shows the sections groups. In this case, the units are labeled. Below: The picture below shows the tabs that each section group is split up into. 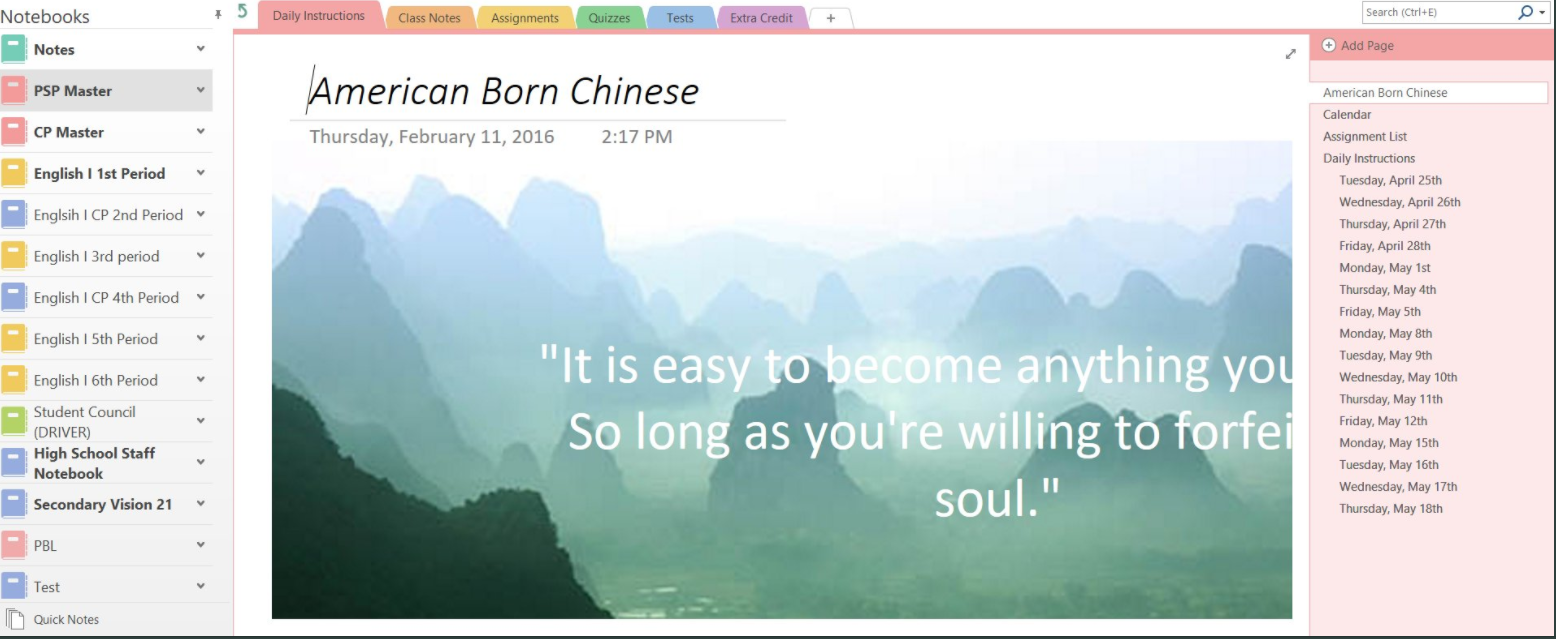 WE KNOW THIS IS A BETTER WAY OF ORGANIZING! (I'll rephrase, not to offend, WE KNOW THIS HAS BEEN A BETTER WAY FOR OUR STUDENTS!) We hear it from students everyday. Don't let the frustration of an unorganized notebook keep your students from reaching our ultimate goal, which is learning. So here is how we do it! :) HOW TO CREATE THE SECTION GROUPSI will first start with this, this strategy was created by the amazing Alyssa Butler who teaches English 1 at Sulphur Springs High School. Follow her on Twitter: https://twitter.com/mrsbutler209 STEP 1: Create Your Classes You cannot distribute section groups until your class notebooks are created. During your class notebook set-up, it will ask you to create TABS. ONLY create tabs that you do NOT want in your section groups. For example, an Important Information Tab or Syllabus Tab. You can click here to set up your notebooks. Steps 2-4 will have to be done for EACH class notebook. You could do it ALL before school starts or just add a new section group before each unit starts. Now, I know this may seem like a pain, but it is well worth it!!!! If you don't want to do this, vote HERE to voice our opinion to OneNote! Changes won't be made unless they know their is a need. STEP 2: Create Your Section Group Click on the Class Notebook tab and select Distribute New Section. Then select Distribute New Section Group. Title your section group. In my example, I will title it Unit 1.  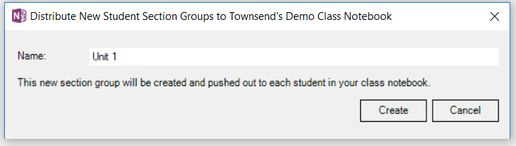 STEP 3: Create Tabs Within Your Section Group Click on the Class Notebook tab and select Distribute New Section. Then select Distribute New Section. You will need to check the More options box in order to create your tabs under your Section Group. I am titling my first tab Notes and placing it under my Unit 1 section group, which I can get to by selecting the + by Student Name and expanding the selection.
STEP 4: Create the rest of your tabs Repeat Step 3 until you have made all of the tabs you want to have under your Section Group. In my example, I created 3 tabs: Notes, Assignments, Assessments. 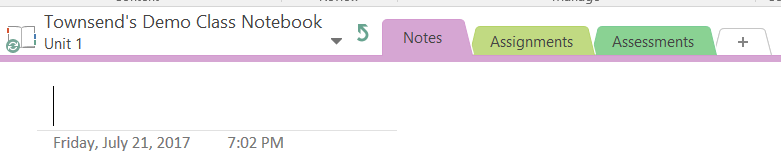 Make sure that you create the section groups and tabs EXACTLY the same for each class. That way when you go to Distribute Pages to students, the correct Section Groups and Sections will be pulled up. Spelling errors will cause this to not work. Other Tips:
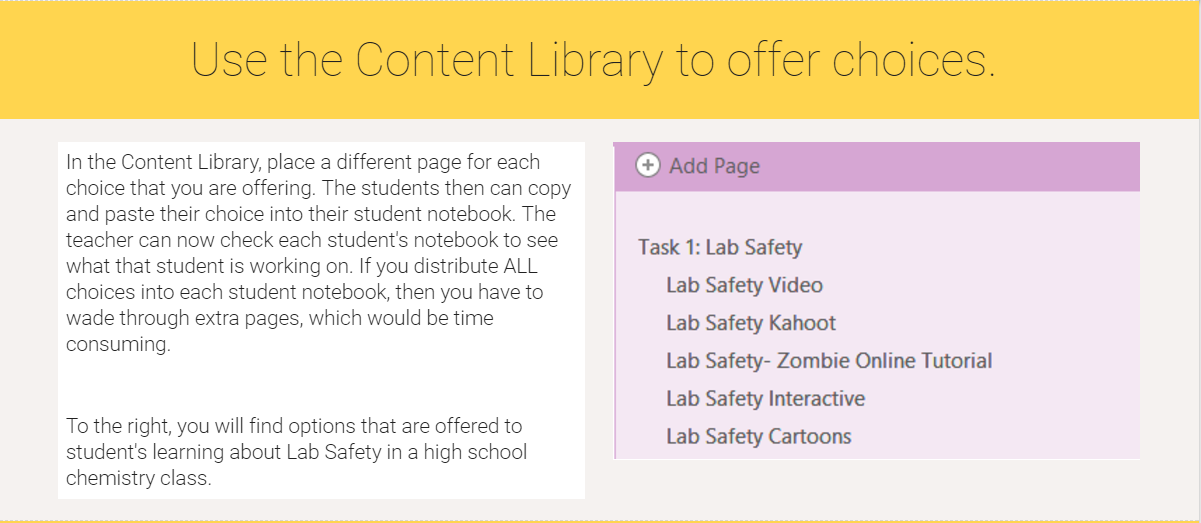
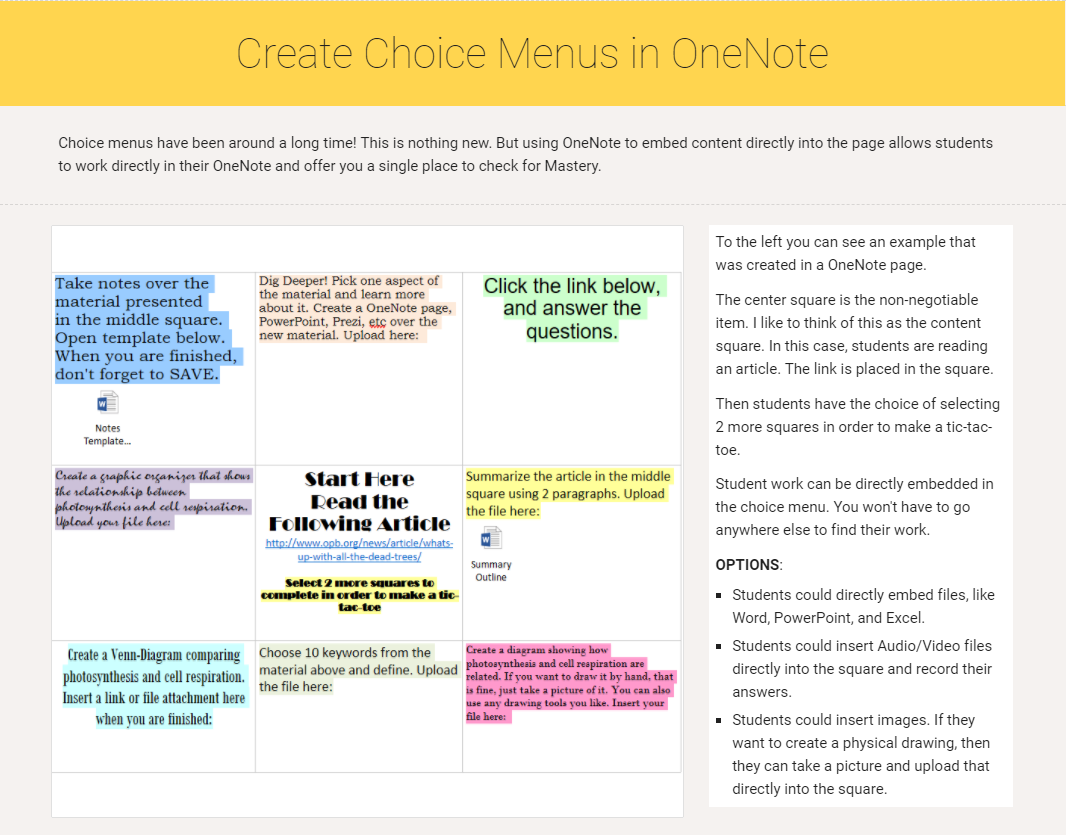
Create a Master Notebook to distribute your assignments from. It would be much like an old-fashioned less plan binder. Simply edit and create as you have time and then do a Cross Notebook Distribution when your assignments are done. You can do them beforehand or as you move along through your unit. Hope you found this blog helpful! Love to hear you thoughts in the comments below. My FAVORITE features in OneNote have to be the ability to record audio and video directly onto the OneNote page. There are very few applications that have the ability for students to record directly into their assignments. With OneNote you don't have to use any outside applications! Here are some of my favorite ways to use the features. HOW TO INSERT AUDIO AND VIDEO IN A ONENOTE PAGEThese features are easy to access! All you have to do is put your cursor on the page where you want to insert the audio and video. Then select the Insert tab and select either Record Audio or Record video. Push stop when you are finished! That easy! 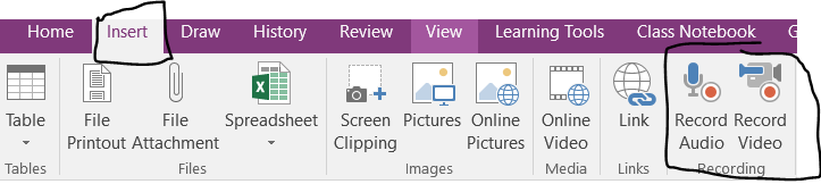 SUMMARIZING Students use audio or video to summarize content, processes, skills, etc. One of the best ways to learn and demonstrate knowledge, is to be able to explain and summarize it. Below you can see an example of this type of less in a OneNote page. 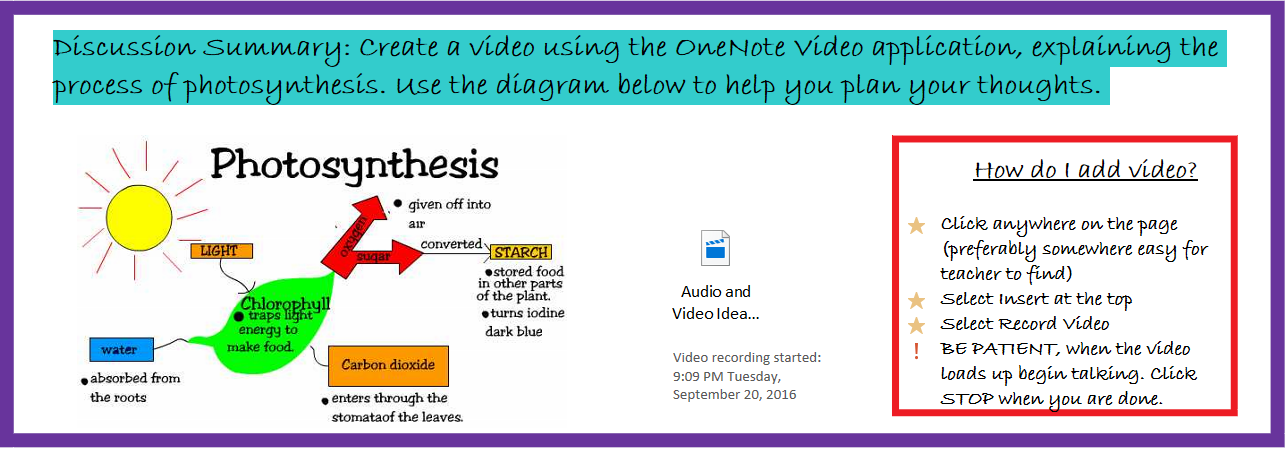 READING PASSAGES FOR DIFFERENTIATIONWe all have students who may struggle with reading a passage or prefer to hear a passage read aloud. Whatever the reason, adding audio to a reading selection can help your students better understand a passage, poem, article, etc. You can put your reading selection into the OneNote page, and then record yourself reading the passage for those students who may need an audio version. Then distribute the lesson as usual. See example below.  MODEL PROBLEMSVideo is a great way for students to model solving problems. When the students turn on the record video feature, have it facing a white board, Promethean board, chalk board, or even a hanging piece of paper. Then students can work the problem as they record their explanation. 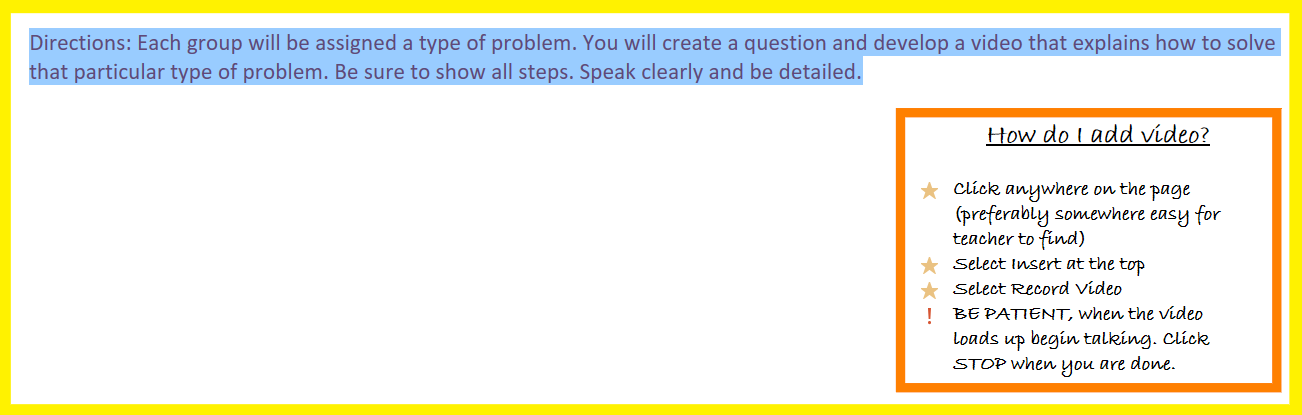 PRACTICING FOR FOREIGN LANGUAGE- Students can record themselves practicing reading a passage in a Foreign Language or a speech that needs to be memorized - The teacher can record the proper way of saying particular vocabulary words so students hear what it is supposed to sounds like. REVIEWThis is a favorite of mine. Create something similar to below and paste it in the collaboration space of your class notebook. Choose the concepts that you want your students to review and assign an individual or a group to make a video over that concept.  FEEDBACKAudio and video isn't just for the students. Sometimes it is easier to relay your feedback through speech rather than writing. As find something the students need to work on, leave a recording to help explain. I WOULD LOVE TO HEAR YOUR THOUGHTS OR ANY OTHER WAYS THAT YOU USE AUDIO AND VIDEO FEATURES IN YOUR CLASSROOM. LEAVE ME A COMMENT!I love Dotstorming and believe it is a highly underutilized app in education. Dotstorming.com is free and easy to use, which are two qualifications for me to even give it a look. It is similar to padlet, but I think it adds a level because of the ability to rank and vote on submissions. THIS IS NOT A TUTORIAL! It is sooo easy to use, so here is a link to learn more TUTORIAL. Below you will find examples and ideas for using it in your classroom or school! General instructional strategies
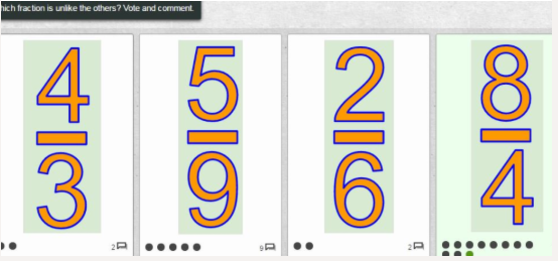 Choose the Item That Doesn't Belong- Just as it says, you place 4 items on the board and students vote on which item doesn't belong. Comment section can be used for students to explain why they chose it. AdministrationEdCamp Style Learning - creating sessions that teachers are interested in can be quite a pain sometimes. Dotstorming can be used to gain insight to what the most popular sessions are. Create a board and have teachers create cards with what they are most interested in learning. Then have the group vote on their top 3 sessions. Use that data to create sessions that will cater to your staff's needs. 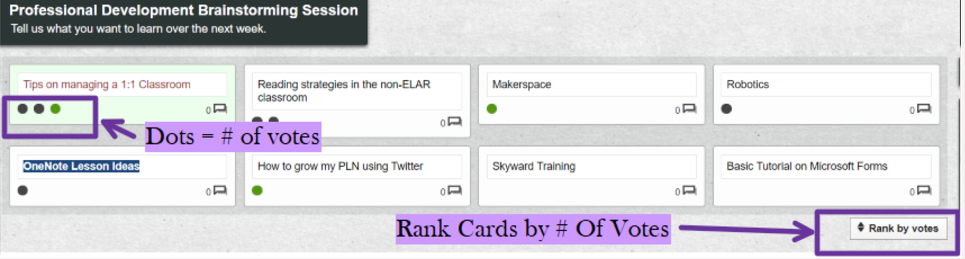 Feedback- Maybe you are trying to put into place a new calendar or rules about behavior...perhaps it is as simple as picking a type of meal for a luncheon. Put your options on different cards and let the staff vote on their favorites. Dotstorming defaults to 3 votes per user but you could change that to more or less. Social studies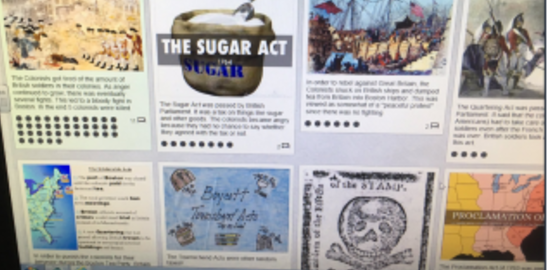 What's the cause? Social studies has so many areas where cause and effect are discussed. Use the Dotstorming board to gather ideas about what students think caused _____. Have them post their ideas and vote on who had the best explanation and ideas. My favorite example of this is from @BerTechR3 who had his 5th graders vote on what they thought was the biggest cause of the American Revolution. Alternate Endings- The use and study of timelines plays a roll in every history classroom. But what if events happened a little different, would the outcomes be the same? Create a scenario and have your students decide what the new result would be. They can create a card and use text and images to come up with their alternate ending. Then comment and vote on which is the most plausible or creative. 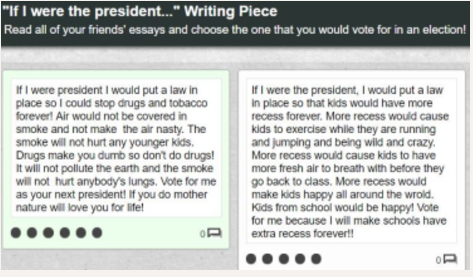 If I were... Love this idea from @Brit_Horn_IT. I think it could easily be used for ELAR or Social Studies. Students wrote about what they would do if they were president and then the kids voted on the best ideas. ELARWriting- Use Dotstorming for peer feedback. Learning how to write a thesis statement or use description to create more in depth sentences? Have students write their samples on the card and students can choose who did it best or leave comments to provide feedback. Textual Evidence- Pick a topic/theme/character that you want students to find textual evidence for. Students then choose the quote that they think best describes your topic and create a card. Then the class votes on who chose the best quote and explain why. Visual Representation- Students choose image that best represents character or themes. They choose the image and explain why. Then students choose which had the best representation. math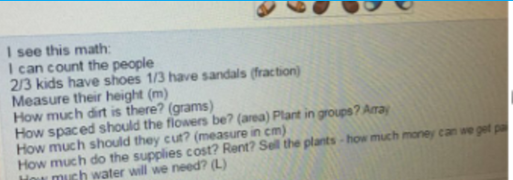 Creating Different Ways to Display a Math Problem- Give students a math problem and have them create alternate ways of showing the math problem, whether that is through images or word problems. Student can vote on the most helpful or creative examples. Stacy Falconer @The8Techdudes shows a great example of how students read math problems and show their thinking using images. scienceLabs- Use Dotstorming to collect information for your lab. Student can come up with their hypothesis for an experiment and the group can pick which they think is most likely. Students can upload data/graphs collected from an experiment. Conclusions can be written and commented on as well. Some of my FAVORITE TWEETS!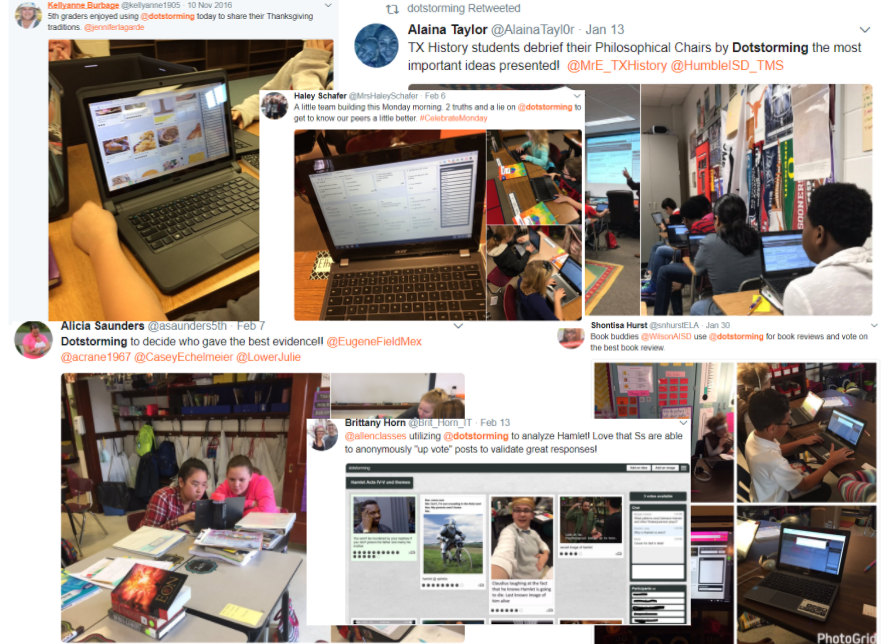  Tip #1: Let Your Kids Get ComfortableDepending on what level you teach, this may or may not be as big of a deal. I am at the High School level and found that those kids were not comfortable with being on video and talking to their peers. I know.....I was confused by this too. But you use Snapchat all the time? How is this any different? Well, apparently it is. Whether we understand it or not, we need to give kids time to be comfortable and offer options for those that are not. #1- Start with a question that is NOT related to your content or what you are teaching. Let them play around. Ask them something they can relate to immediately and taps into something they want to talk about. Just get them talking. You can find some fun prompts here by @TxTechChick #2 Give them a shorter time limit. I like the shorter time limits anyway, I think students and teachers are more likely to listen to a response if it is shorter. So set the time limit to 30 seconds. But more than anything, if students know they only have to talk for a small amount of time, they are going to get less nervous and feel more like they can "knock it out."  #3 Allow them to be off-camera during when they film and take selfie. My hope is that all teenagers feel confident about themselves and want to show their voice and their face. That isn't the reality. We need to give them space and time to gain that confidence. Let them video the ceiling, the wall, a stuffed animal, whatever it is they want, and have them focus on what they are saying instead of what they look like. I mean, at what point, we had a kid wear a mask. But his answer was brilliant! 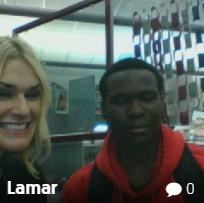 #4 Get in there with them! Teachers, model this confidence! Sit with them in the video and help ask the questions, like an interview. Have a conversation. Turn the selfie into a groupie! Tip #2: Create a HashtagThe government teacher Maci Newsom (@macinewsom )and I had created grids for students to talk about current policies during Trump's 1st 100 days. The hashtag idea grew from this project. We also used it with English classes (follow @mrsbutler209 ) who were studying The Monkey King, except they created a subject line for their picture. Students created a hashtag that described what they were going to be speaking about. They wrote it on a piece of paper and held it up during their selfie. This allowed students to have an idea of what the video was about before clicking on it. It also helped the shy kids feel more comfortable, as it took the place of their face in some cases. Tip #3: Give them More TimeHowever long you think it will take them to make the videos, it will probably take more. Now, this might not be true if you have done this a couple of times already, but the first few times it will. Many teachers think, oh they will record it once or twice.....good chance they will record it 4 or 5 times. But that's ok! The more they record, the more they retain. 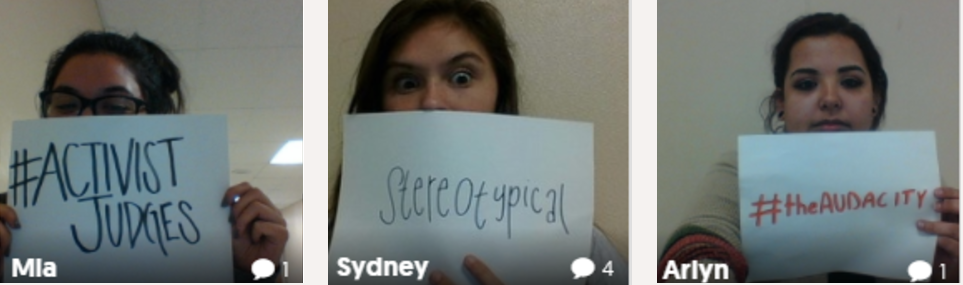 Tip #4: Encourage the Use of PropsHow many of us teachers just stand and talk? Not many. We are either writing on a whiteboard or demonstrating using some sort of prop. It can be uncomfortable and sometimes not as effective. Encourage your students to use props in their video. In our chemistry classes (follow @kaytlin_black ), our students had to explain one of the Gas Laws. Many chose to use a whiteboard or smart board to help demonstrate their knowledge. The videos were much better for the students who chose to write and demonstrate vs those students who just explained. 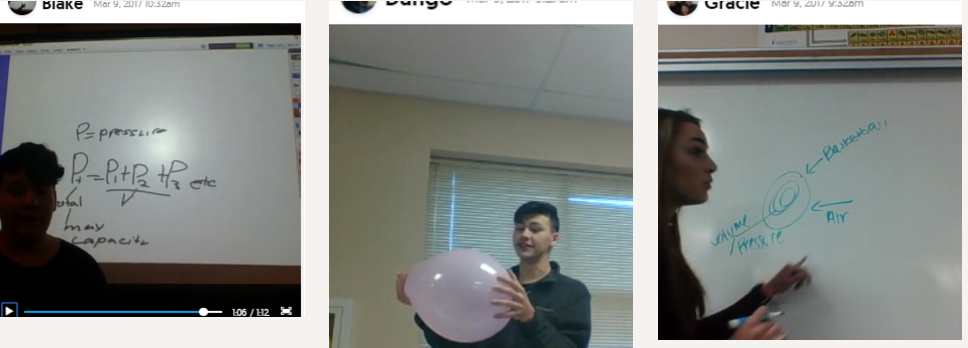 Do you have any tips for the new Flipgridder? comment below! |
AuthorFollow me on Twitter @Mer_Townsend Archives
March 2019
Categories |

 RSS Feed
